Zoom integration allows instructors to schedule live classes directly within Testpress and deliver real-time sessions to students without sharing external meeting links.
How to Schedule a Zoom Class
Step-by-Step Instructions
Go to Courses.
Open the course where you want to add a live class.
Click Add Content → select Live Class (Zoom).
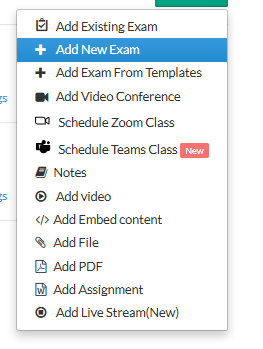
You will be redirected to the Schedule Zoom Class page.
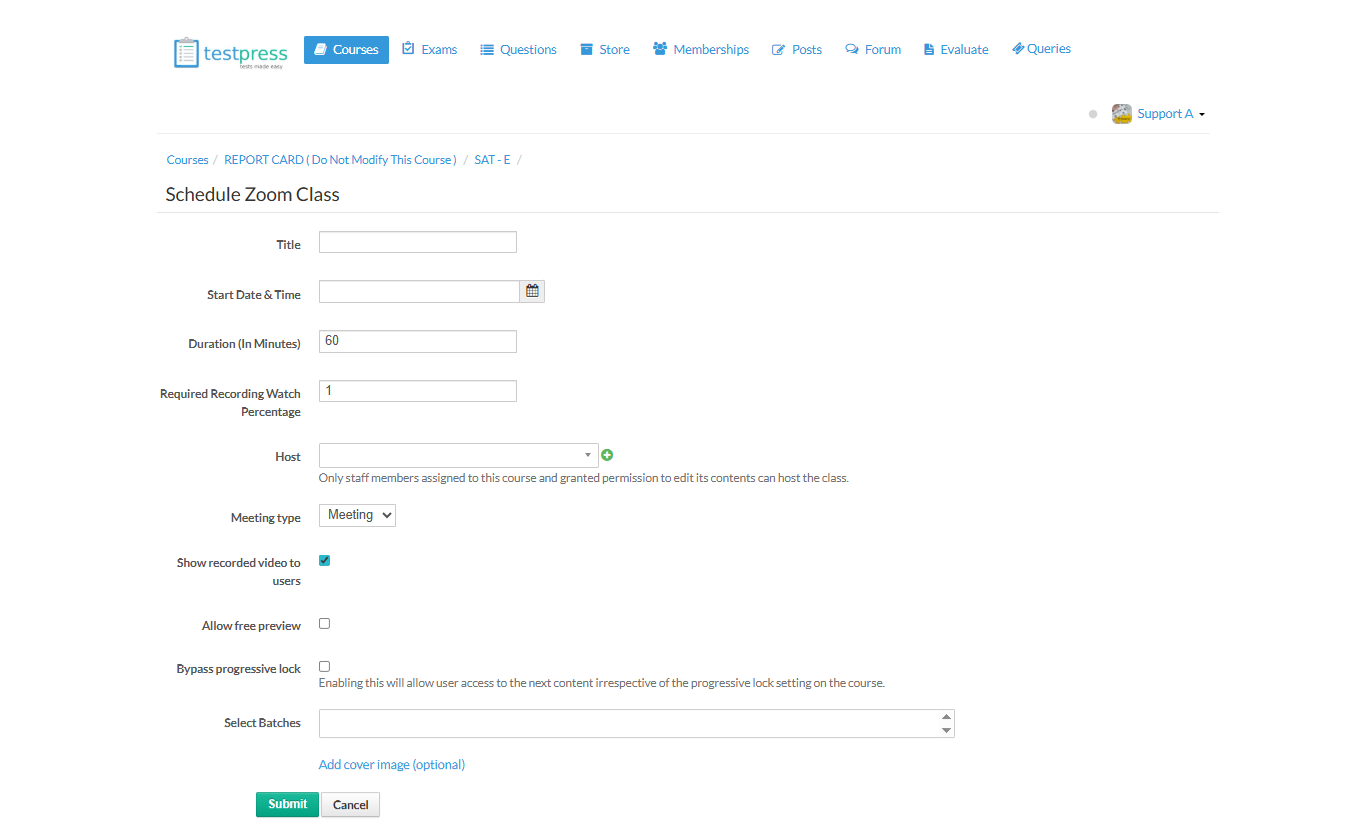
Configure Zoom Class Details
Fill in the following details:
Title – Enter the name of the live class.
Start Date & Time – Select when the class should begin.
Duration (in minutes) – Set the class duration.
Required Recording Watch Percentage – Define how much of the recorded session users must watch (if applicable).
Host – Choose the instructor who will host the Zoom session.
Meeting Type – Select Meeting or Webinar (based on your setup).
Show recorded video to users – Enable this to allow students to access the recording after the class.
Allow free preview (optional) – Enable if the class should be visible to non-enrolled users.
Bypass progressive lock (optional) – Allow users to access this class without completing previous content.
Select Batches – Choose the batches that should have access to this live class.
Add cover image (optional) – Upload a thumbnail for better visibility.
Save and Publish the Class
Click Submit to schedule the Zoom class.
The live session will now appear inside the course.
Students can join the session using the Join Class button at the scheduled time.
Key Notes
Zoom must be connected in Settings → Apps → Zoom before scheduling classes.
Only staff members with course access and hosting permission can host Zoom classes.
Recorded sessions are automatically linked if recording is enabled.
Was this article helpful?
That’s Great!
Thank you for your feedback
Sorry! We couldn't be helpful
Thank you for your feedback
Feedback sent
We appreciate your effort and will try to fix the article